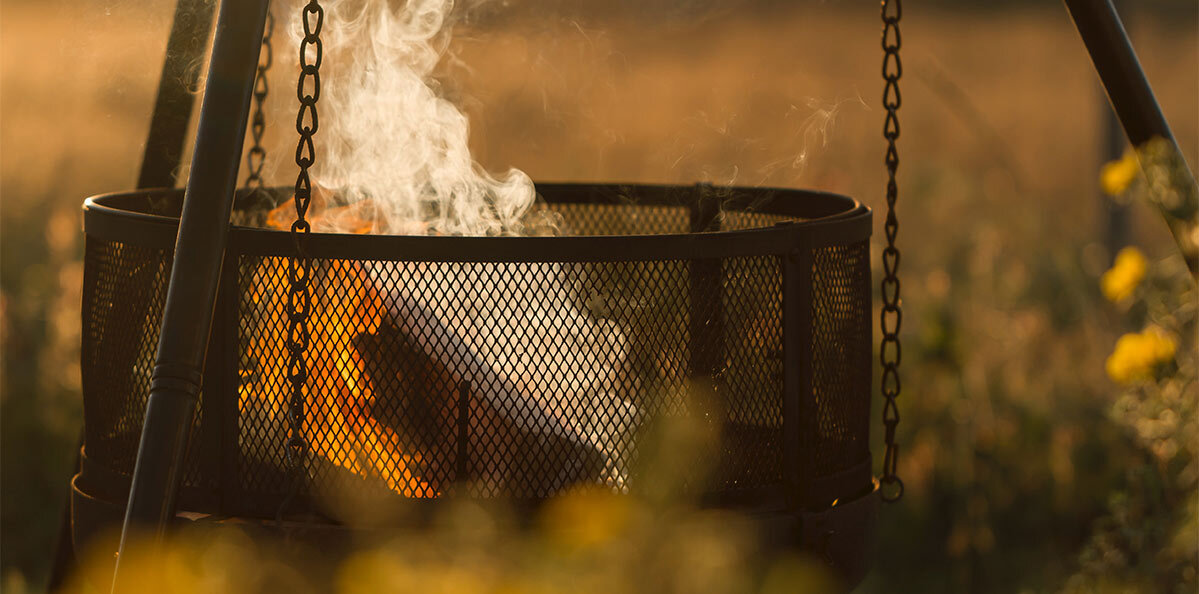
4 steps to build a DIY fire pit in your backyard
There are many reasons to invest in an outdoor fire pit - from adding aesthetics to your backyard, making memories, or even increasing the value of your property as a term investment. Let's look at the preparation for your DIY fire pit, how to build one in 4 steps, and how we can help if required.
When starting your journey into your DIY fire pit, there are a few things to be aware of, and we are here to help you guide the way. Let’s have a look at the 4 considerations below:
Regulations:
Let’s start with the hard-hitting stuff - you might be required to apply for a fire permit from Fire and Emergency based on the fire season and area you reside. Before this scares you off - Fire and Emergency have created quick tools for you to check this:
Click on one of the below:According to the Auckland City Council: ‘Provided you meet general fire safety conditions, you can use a small heating or cooking fire, such as an outdoor fireplace.’
Outdoor permanent fireplaces must always be at least 1 metre away from combustible objects such as trees, shrubs, buildings, or wood storage piles. If you are unsure visit their website for more information.Now with the formalities out of the way -
Size:
Ask yourself what you want to use the fire pit for - do you want this to be a feature, adding value to your property? Or do you want to have friends and family over to roast some marshmallows?
Once you know, you can scope the size - for example, a smaller one for aesthetic purposes and a larger one for entertainment (keep in mind the 1 metre rule).
To determine the ideal size - scope it out by lying down bricks on the ground in the shape of your fire pit. You can also use wood or any object and increase or decrease to your preferred size.
Wood vs. Gas
Do you prefer the nostalgia that comes with a wood-burning fire- or a sleek modern design, where you can start the fire by pushing a button? You have options here, with advantages and disadvantages for both, but it all goes back to your intention - why do you want the fire pit?
Keep the following in mind for a gas-burning outdoor fireplace - it must be installed by an authorised Gasfitter and adhere to the Fire and Emergency guidelines.
Last but not least - bricks:
If you were thinking of using a building brick for your fire pit, you might get away with it for a short while, but not for long. Those bricks will start to crack at high temperatures, which is why investing in firebrick or refractory brick would be a better solution to build the inner walls of your fire pit with. Not sure where to source them from? Here is an example from Thermal Solution NZ.
Now that we have looked at some considerations - let's start working on building your fire pit with the help of our trusted team.
How to Build a DIY fire pit:
Below are four easy steps to start building your DIY fire pit. If at any point you require help, our team is here and guide you throughout the process. If you would rather have us tackle this project - we are here to assist and have the tools to help provide you with the perfect outdoor fire pit. You prepare the marshmallows, and we will start with your fire pit. If you're ready for this, see the below steps:
Step one:
Now that we have determined the size of your fire pit - you will mark the shape by spray painting an outline of what you have created.Step two:
Once the shape is an outline - here comes the fun part, digging. For those who want a feature piece or family-sized fire pit, we have a 1.8l Little Digger ready to be of assistance. Or, if you prefer something smaller, a shovel will do. Dependent on your base, the depth can range between 150mm - 300mm. Ensure this base is level with a leveler.A pro tip- knowing the Matakana and Auckland weather, if you know your garden is likely to flood during the rain, dig a small to medium size hole in the center of the shape so that it acts as a draining system.
Step three:
Fill the bottom of your pit with a layer of fine Mitre10 GAP7, or a similar product, wet it, and tamp it down flat. Ensure that it is level using a leveler.Step four:
Place your first set of firebricks (or your material of choice) around the edge and use a rubber mallet to tamp flat- and even with one other. Use construction adhesive on top of the bricks, and place the next row of bricks. To secure them together, repeat hitting the same row with a rubber mallet to keep them in place, tighten the stone, and level them out. Repeat these steps - a fire pit typically has three or four rows.
Now you have the shell of your fire pit ready - time to add your personal touch.
There you have it, four simple steps, and now a place to start creating memories (if the Matakana and Auckland weather allows).
If you prefer us to take the lead, contact us for your free quote to scope out your backyard - we have the tools and the how-to knowledge ready. Let us know today, and we can start working towards adding some flavour to your backyard.


